How to Print
You can learn how to print from a USB or wirelessly-connected printer by following the steps below.
- Select the file you want to print and open the file so it appears on your computer screen.
- Press the Ctrl and P buttons on your keyboard at the same time.
- Once the printing pop-up menu appears on your computer screen, select the printer you intend to send the job to.
- If the printer is not connected, get help setting it up through the Technical Assitance.
- For wireless printer setup and connection, get help Technical Support.
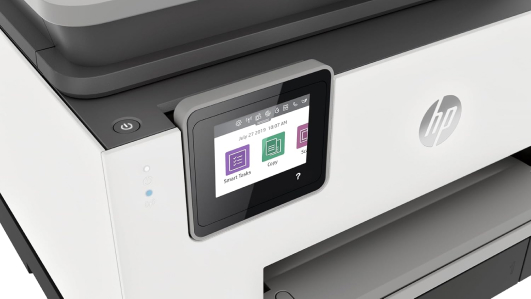
- If needed, modify your print settings. This step is optional.
- Click the Print button on screen to send the job into the printer print queue and wait for the job to complete.
How to Scan on a Windows Computer
You can learn how to scan documents or photos from a USB or wirelessly-connected multifunction printer to a Windows computer by using the steps below.
- Software is required to scan a document. Make sure the latest Full Feature Software and Drivers for the printer is downloaded and installed. Start by going to Customer Support Software and Driver Downloads
- Load the item on the scanner glass or in the automatic document feeder (ADF), depending on your printer type and features.
- Depending on the printer, open Scan (printers released 2011 and later) or Solution Center (printers released 2010 and earlier).
- Open Solution Center software and follow the on-screen prompts to scan.
- Scan the file and save to the desired destination on the computer.
- In Scan you can change the scan destination folder by clicking on Advanced Settings or More.
- In Solution Center you can change the scan destination folder by clicking on Save to File Save Options.
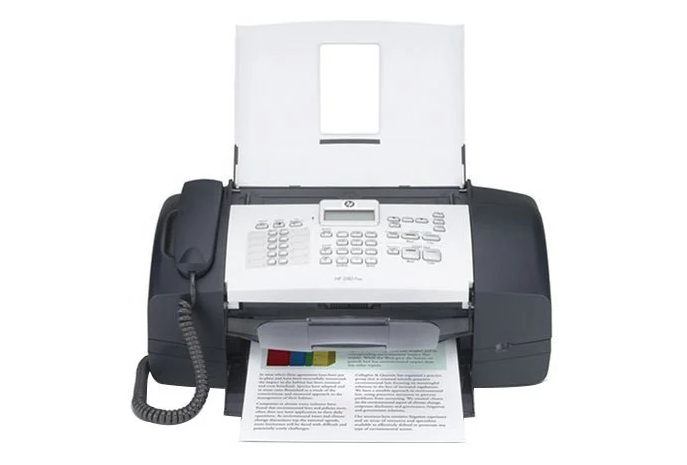
Printers - Sending and receiving fax
You can learn how to fax from a fax-enabled printer by following the steps below.
- Ensure the printer is connected and set up properly.
- Load the sheets you are intending to fax into the input tray and adjust the width guides so that they rest against the edges of the paper. The printer should indicate whether the printed side of the page(s) should face up or down.
- For multifunction printers, there may be an option to select Fax. Complete this step before moving on.
- If needed, modify the fax settings. This step is optional.
- Dial the fax number you are wanting to send the fax to. Be sure to include any dial codes and extensions necessary to route the call correctly.
- Press Start, Send, Go, or a start fax-equivalent button.