Step-by-Step Manual to Printer Installation

sl_1

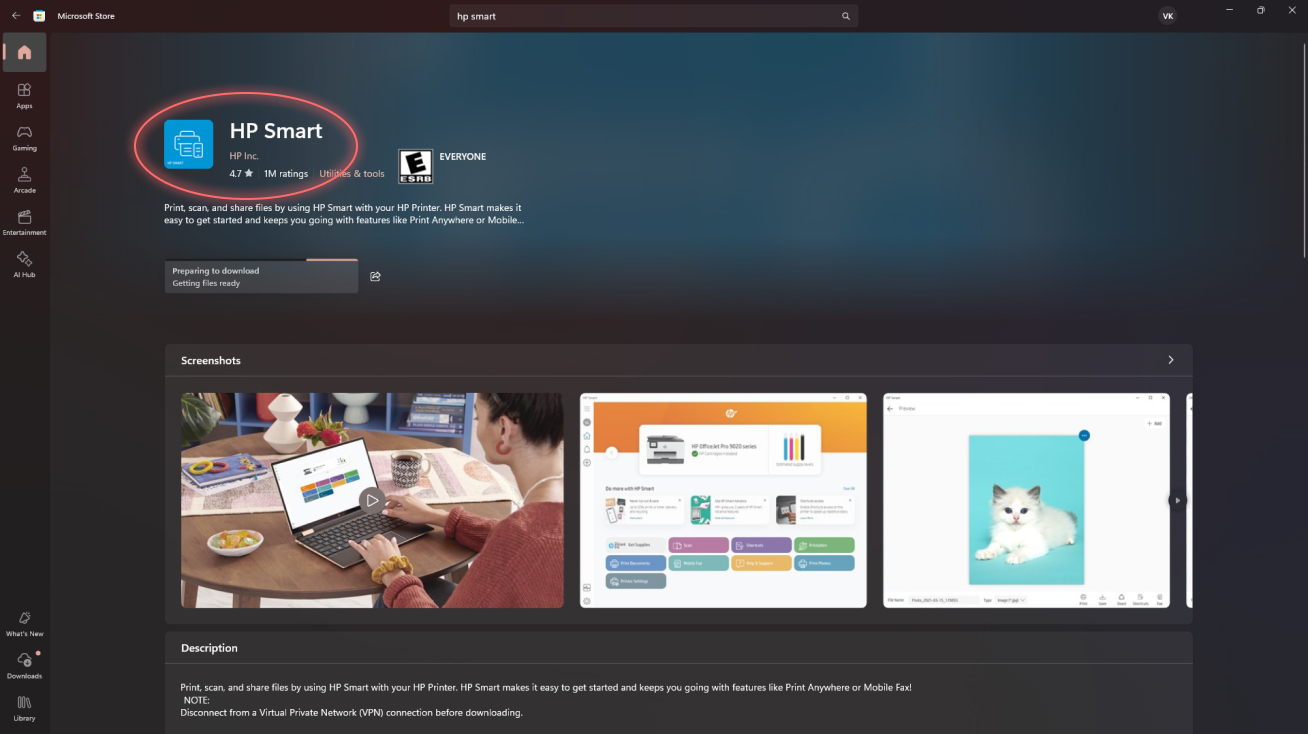
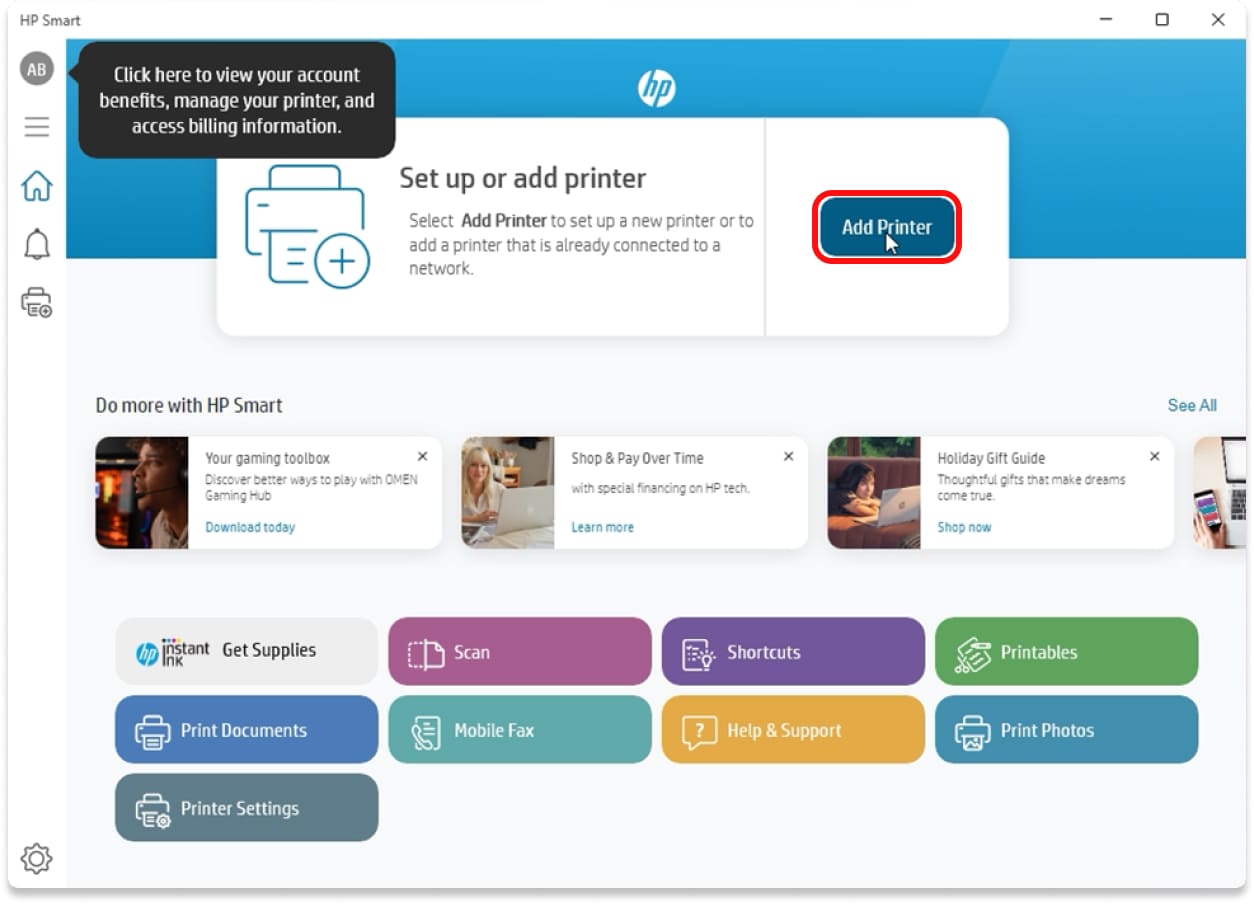
Do you think installation of an printer involves extensive work everytime? There are times when setting up an printer is easy, but it depends on the model and your own tastes. Understanding the different ways to install a printer and the proper implementation of the right process is important for running it easily, whether you’re setting up a small inkjet or a high-performance laser printer. We’ll look at how to install the easy-to-use Smart App in this detailed guide.

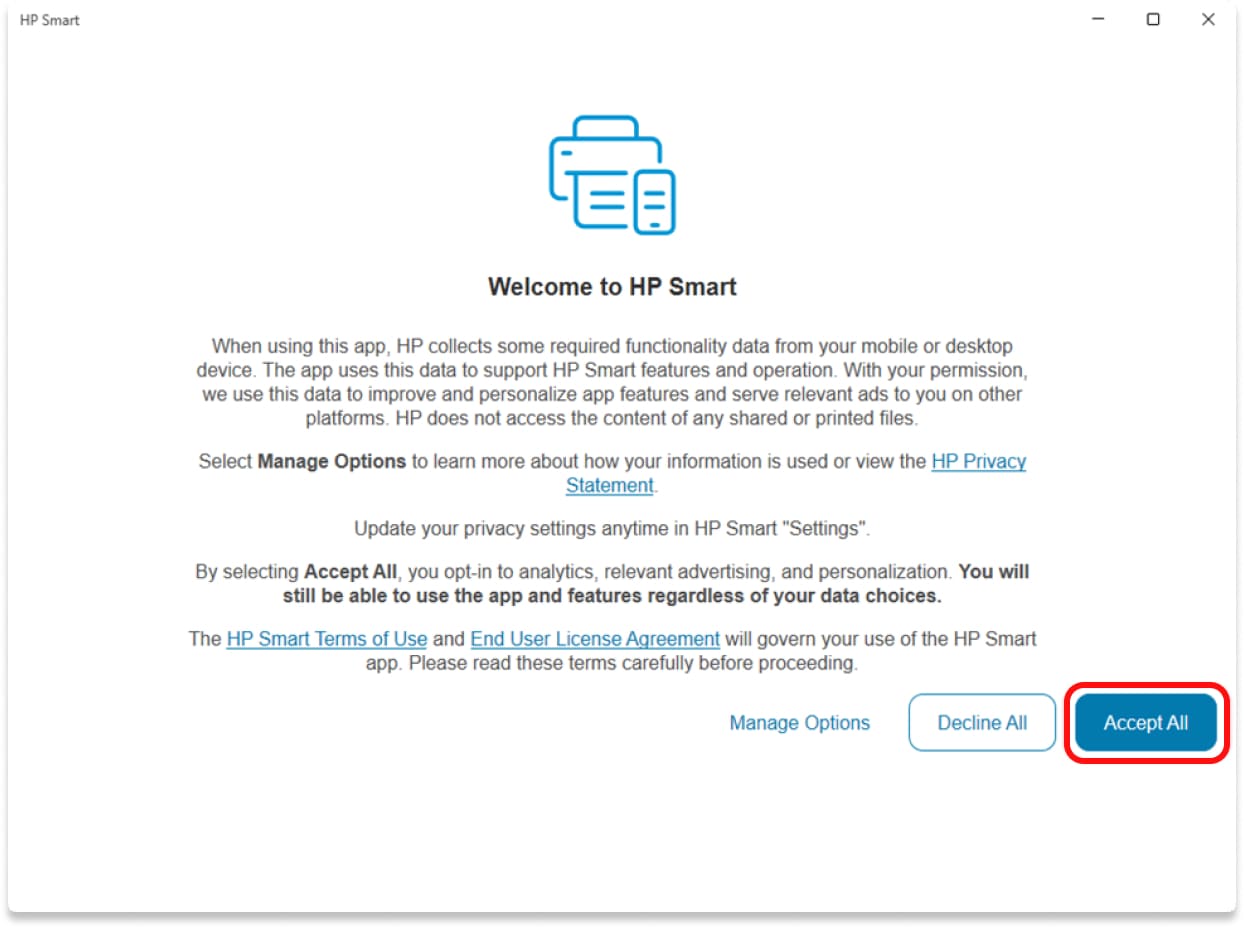
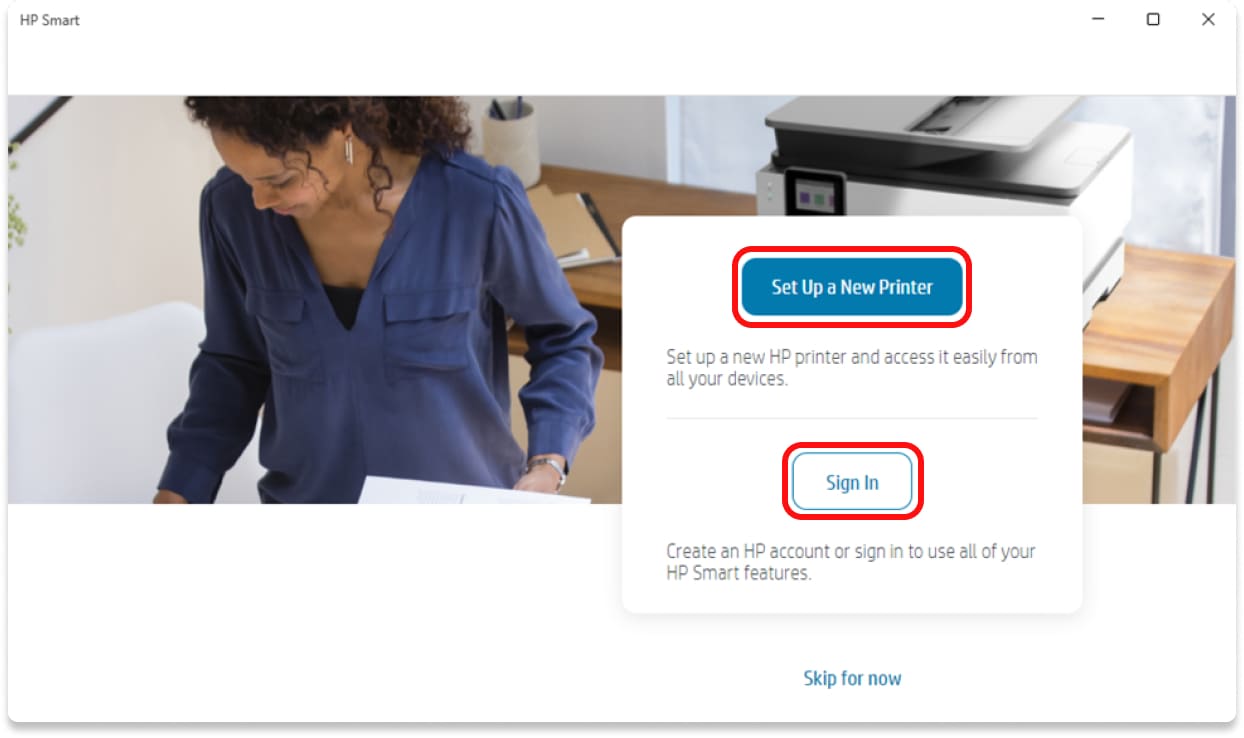
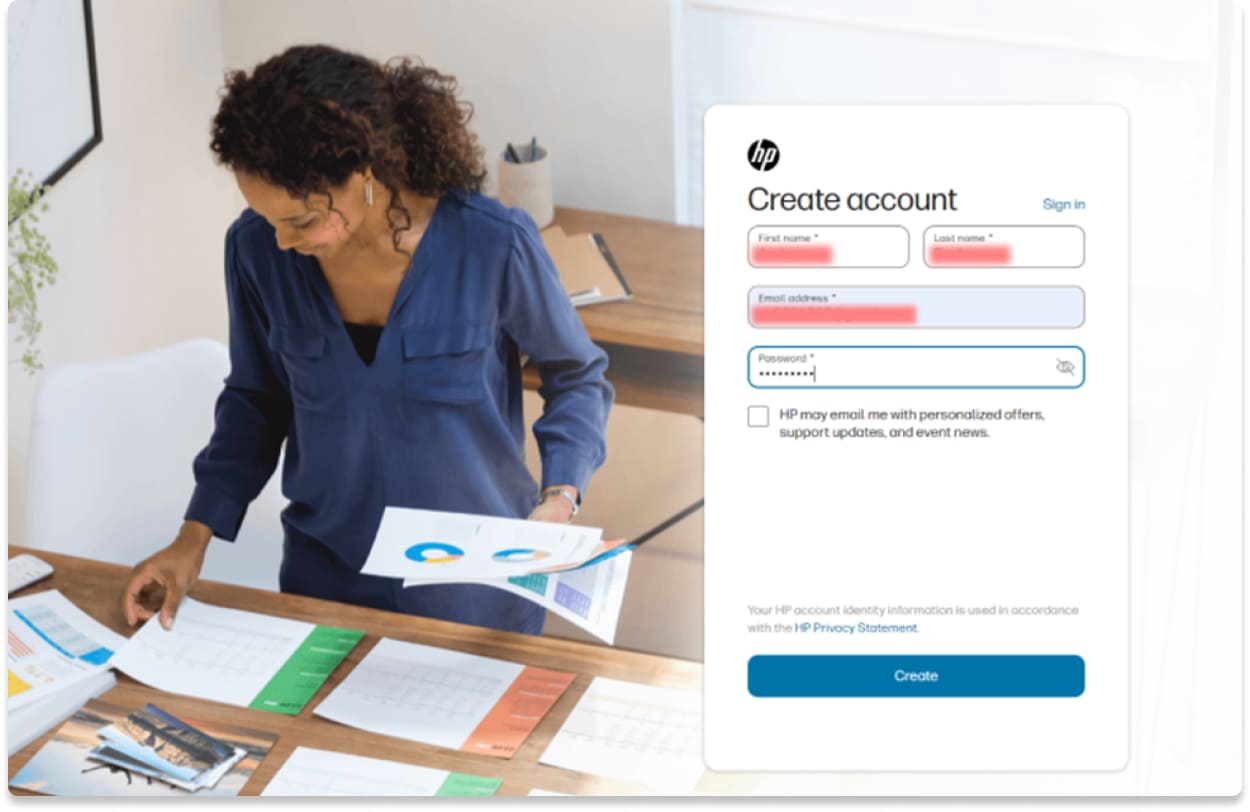
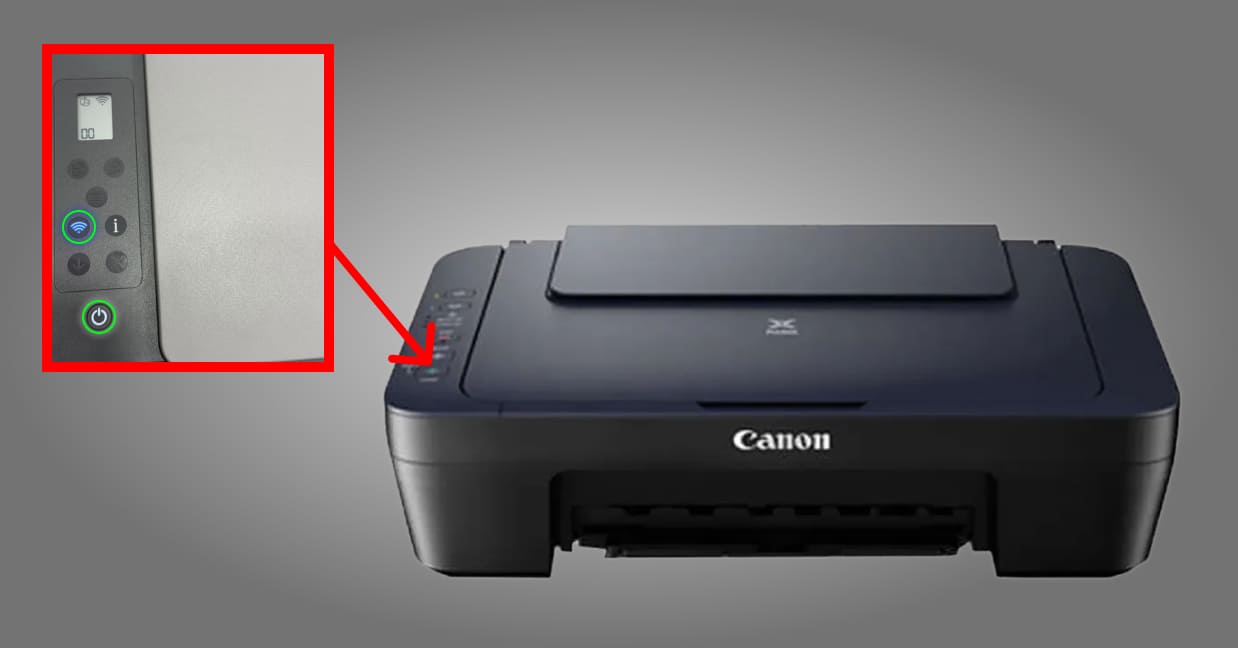
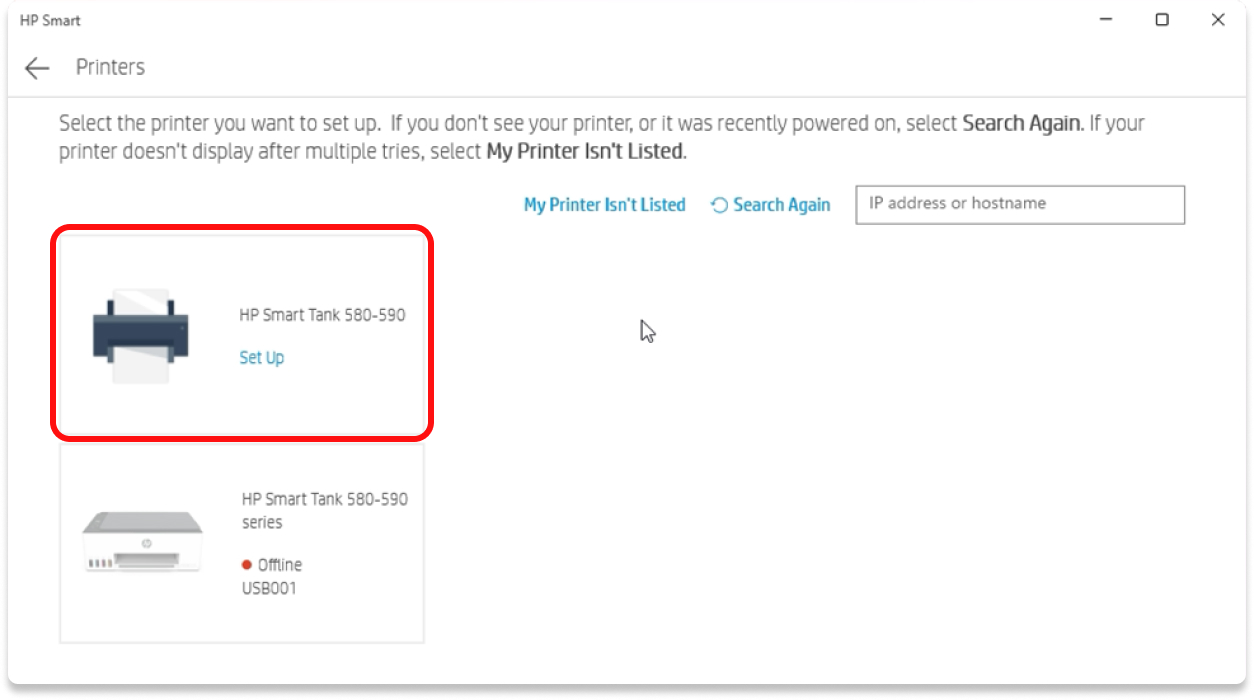
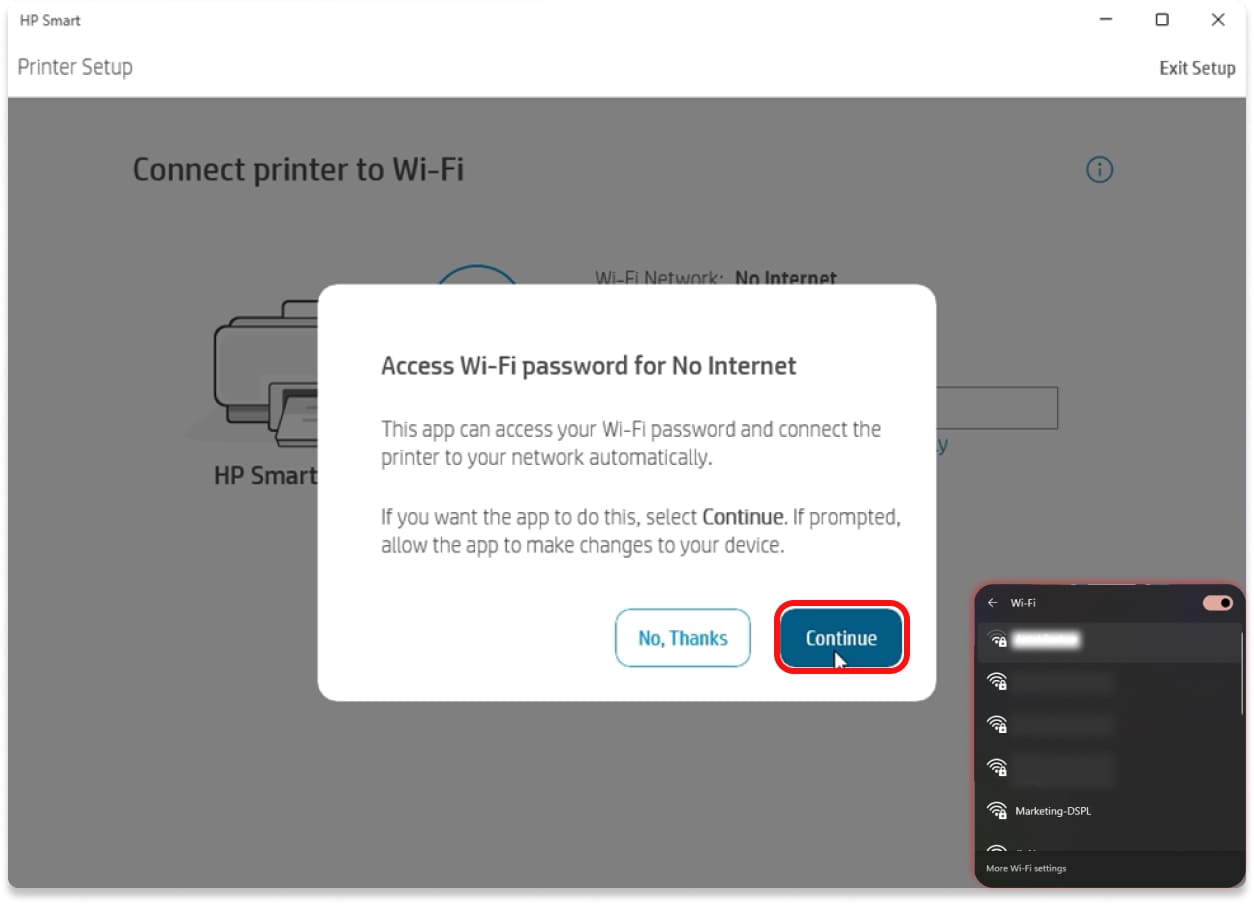
Here are the steps you need to take to get your printer ready to use right away!

1. Printer Installation Using Smart App

Essential Requirements
  • Powered-on printer: Ensure your printer is turned on and ready for installation.
  • Connected device: A computer or mobile device must be connected to the same Wi-Fi network as your printer.
  • Smart App: The Smart App should be installed on your device. It is available for Windows, macOS, Android, and iOS.

Steps to Follow

Step 1: Download and Install Smart App
  1. Visit the Smart website or open your device’s app store (Google Play for Android or the App Store for iOS).
  2. Search for “Smart” and select the app from the search results.
  3. Click on the download or install button and wait for the installation to complete.
  4. Follow any on-screen instructions to finalize the installation process.
pl-1

Step 2: Add Your Printer

  • Launch the Smart App on your device.
  • Read and agree to the Terms and Conditions presented.
pl-2
  • Create a new account or log in to your existing account.
pl-2
pl-5
  • Click the “+ Add Printer” button or tap the printer icon to initiate the scanning process for available printers.
pl-6
  • Ensure your printer is powered on and set to installation mode. This is typically indicated by a blinking wireless light. The app should automatically detect your printer once it’s in this mode.
pl-7 pl-7

Step 3: Connect to Wi-Fi

  • The app will prompt you to select your Wi-Fi network from a list.
pl-7
  • Enter your Wi-Fi network credentials (i.e., your Wi-Fi password) when prompted.
  • Follow the on-screen instructions to complete the connection process.
pl-7
  • Once the printer successfully connects to your Wi-Fi network, it will be added to your Smart App.

Step 4: Finalize Installation

  • Follow any additional on-screen instructions provided by the app, which may include enabling automatic updates and subscribing to Instant Ink, if desired.
  • Once installation is complete, you can begin printing, scanning, or managing your printer directly from the app. Your printer will be displayed on the app’s home screen for easy access.
pl-7

  Click for Chat